Hello there!
You have probably wanted to have a painting of someone. Well, a traditional painting can be quite expensive and time consuming. However, with Photoshop, you can have a photo converted into a painting in no time at all. This is quite simple and in the next few sections, we will take a look at how you can achieve this effect in Photoshop. We will be making use of Photoshop CS6 in this tutorial but the technique we will use can be applied in other versions of Photoshop as well.
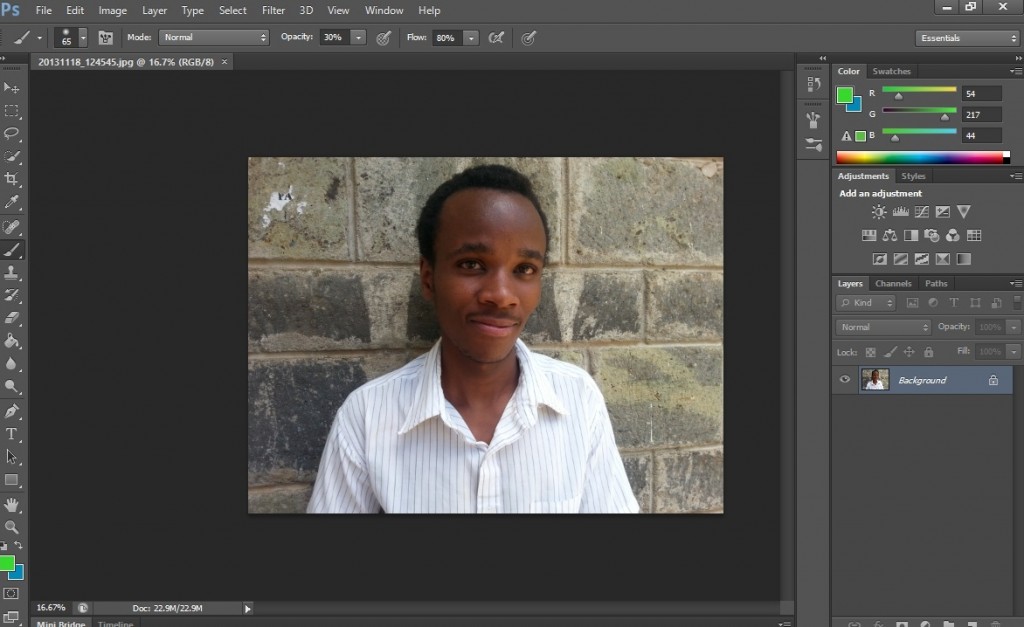
For a start, you will need a really good photograph. The higher the resolution of the photo, the better the results. The subject of your photograph can be placed inside the middle of the frame facing the camera. First of all open the image as a layer in photoshop.
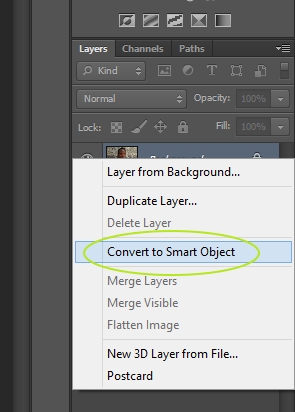
Next, convert this into a smart object by right clicking on the image layer then convert to smart object.
Once you have done this, you can easily edit the image as you wish and apply all the filters needed in order to turn the photo into a painting.
Once we have our original photograph open inside photoshop, we will need to apply a number of filters to it. The first one will involve adding a blocky effect to the photo. Go to Filter> Filter Gallery and select the Cutout Filter.
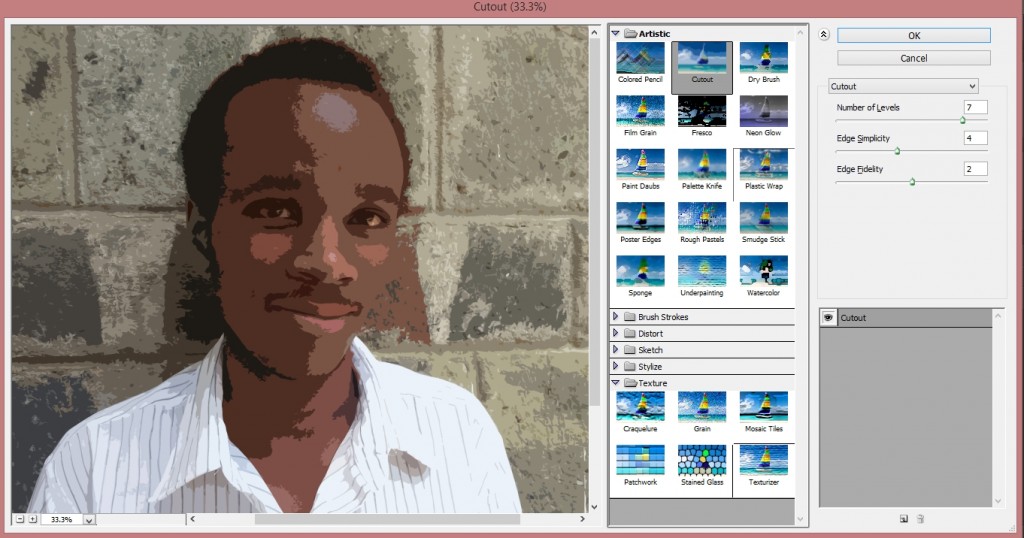
Play around with the settings till you have a blocky feel to the image. You can adjust the values till your photo does not have the sharp feeling it had.
Next, we will need to add the Oil paint filter to our image. In Photoshop CS5, you need to have the Pixel Bender plugin in order to do this but in CS6, you simply need to go to Filter> Oil Paint.
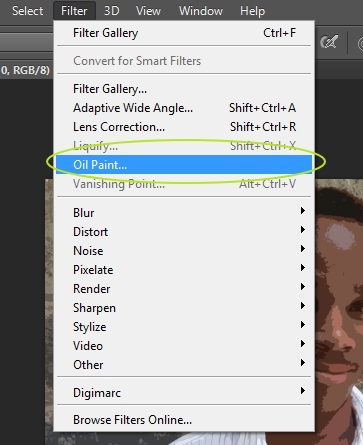
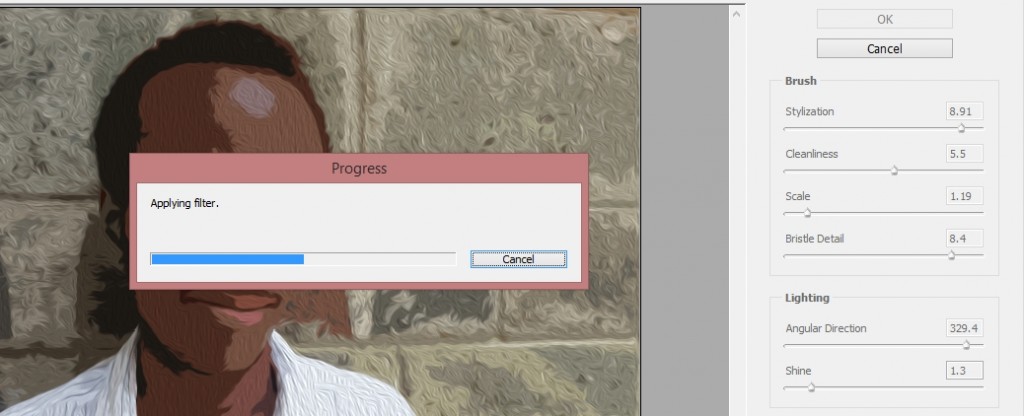
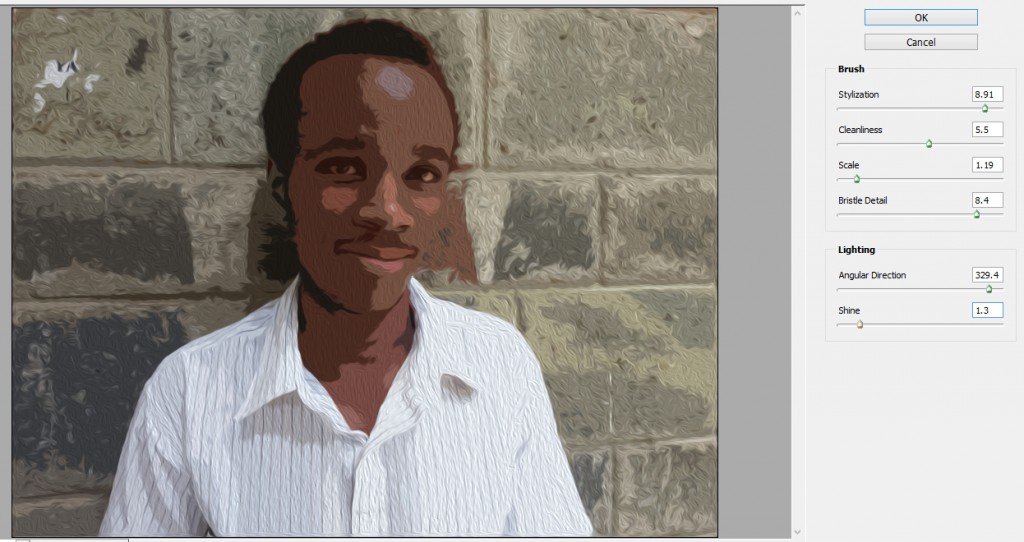
This will make our image have the effect of painting swirls, brush drops and lighting similar to a real painting. You can always mess around with the cleanliness, scale and stylization in order to change the paint effect.
At this point, your result should be something pretty much like this.
This effect is pretty much done but we can always add an additional effect in order to make it look like our painting was done on a real canvas. Go to Filter > Filter Gallery then under the Texture filters, select the Texturizer.
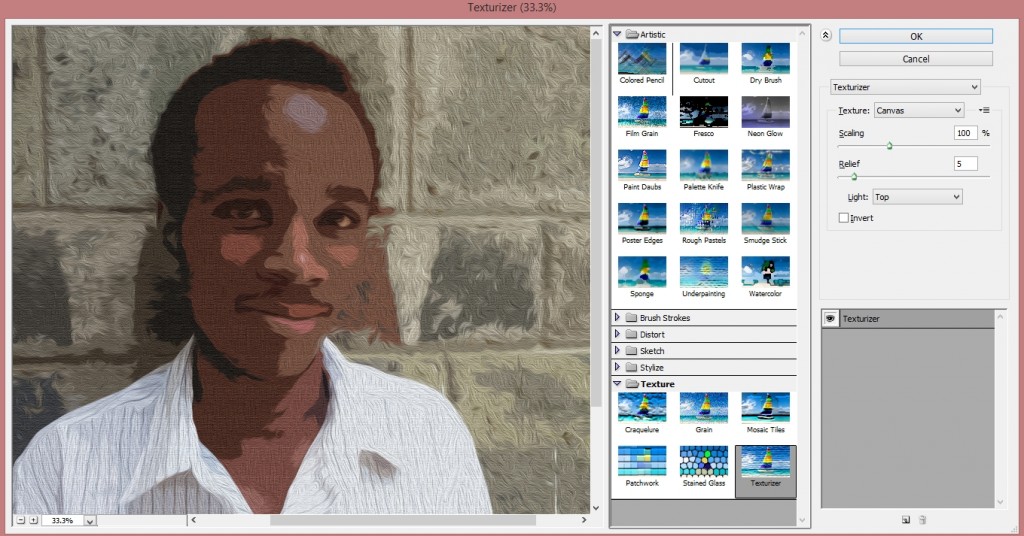
Play around with the values for scaling and relief till you have something that looks like a rough canvas. The original image has been converted into a painting with just a few steps and we not have a realistic looking painting.
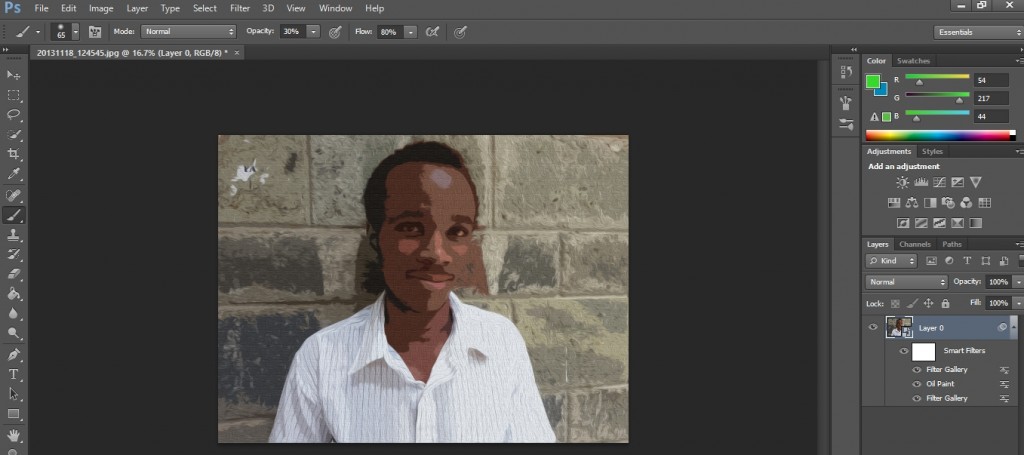
As you can see, all you need is the image with a high resolution and a couple of filters later, we have our finished product. It is important that you start with a high resolution photo so that the end result is impressive.